Tuesday, November 24, 2020

Embossed, Painted Metal


For the Mixed Media: Metal tracker I hosted through AtlasQuest during September, I decided to work with thin sheets of aluminum to create a magical autumn background. 


 The metal (aluminum sheets) came in a variety of colors to work with. The labeling is long gone so hopefully if I ever want more of this, I'll find it. 


After selecting the background embossing folder for the autumn card, I set up the BigShot plates to emboss the sheets of metal. 


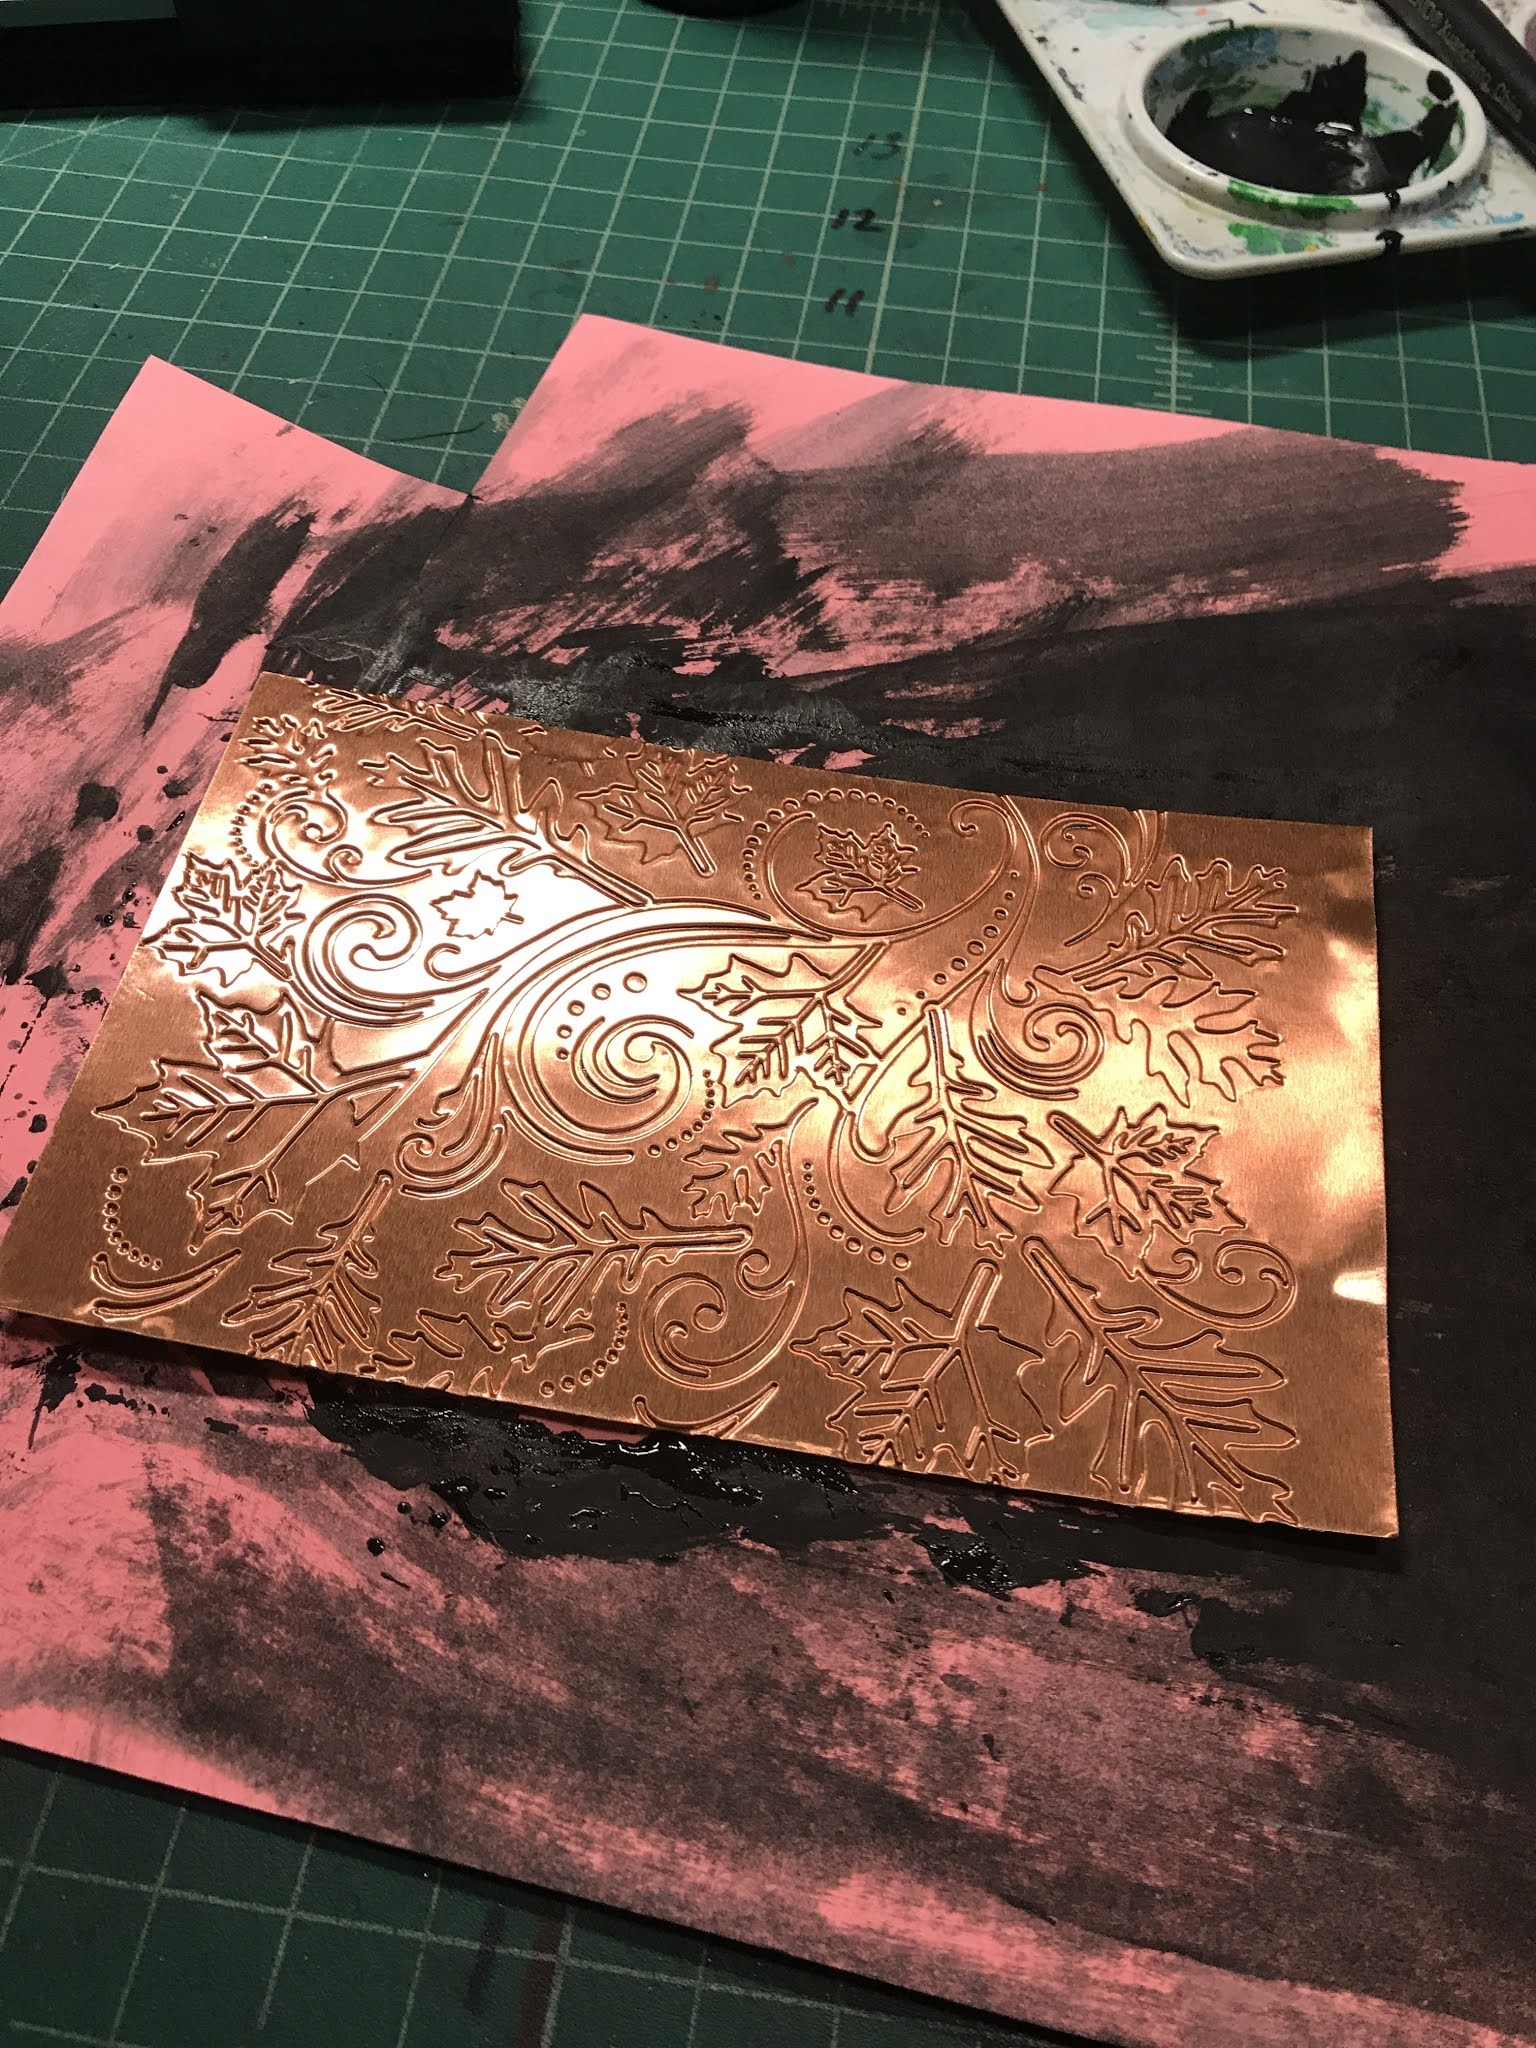
Important:
We will be working with the debossed side of the metal. The side in which the design is pressed into, so arrange the folder and metal appropriately. 

Another Important tip: embossing too deep on the metal will split or cut the metal sheets so adjust the embossing pressure carefully. 


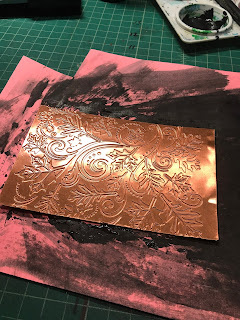
The embossed cards are already eye-catching.  


Next, using an inexpensive acrylic paint


...and a stencil paintbrush,  I generously brushed paint into the debossed areas of the metal sheets. 


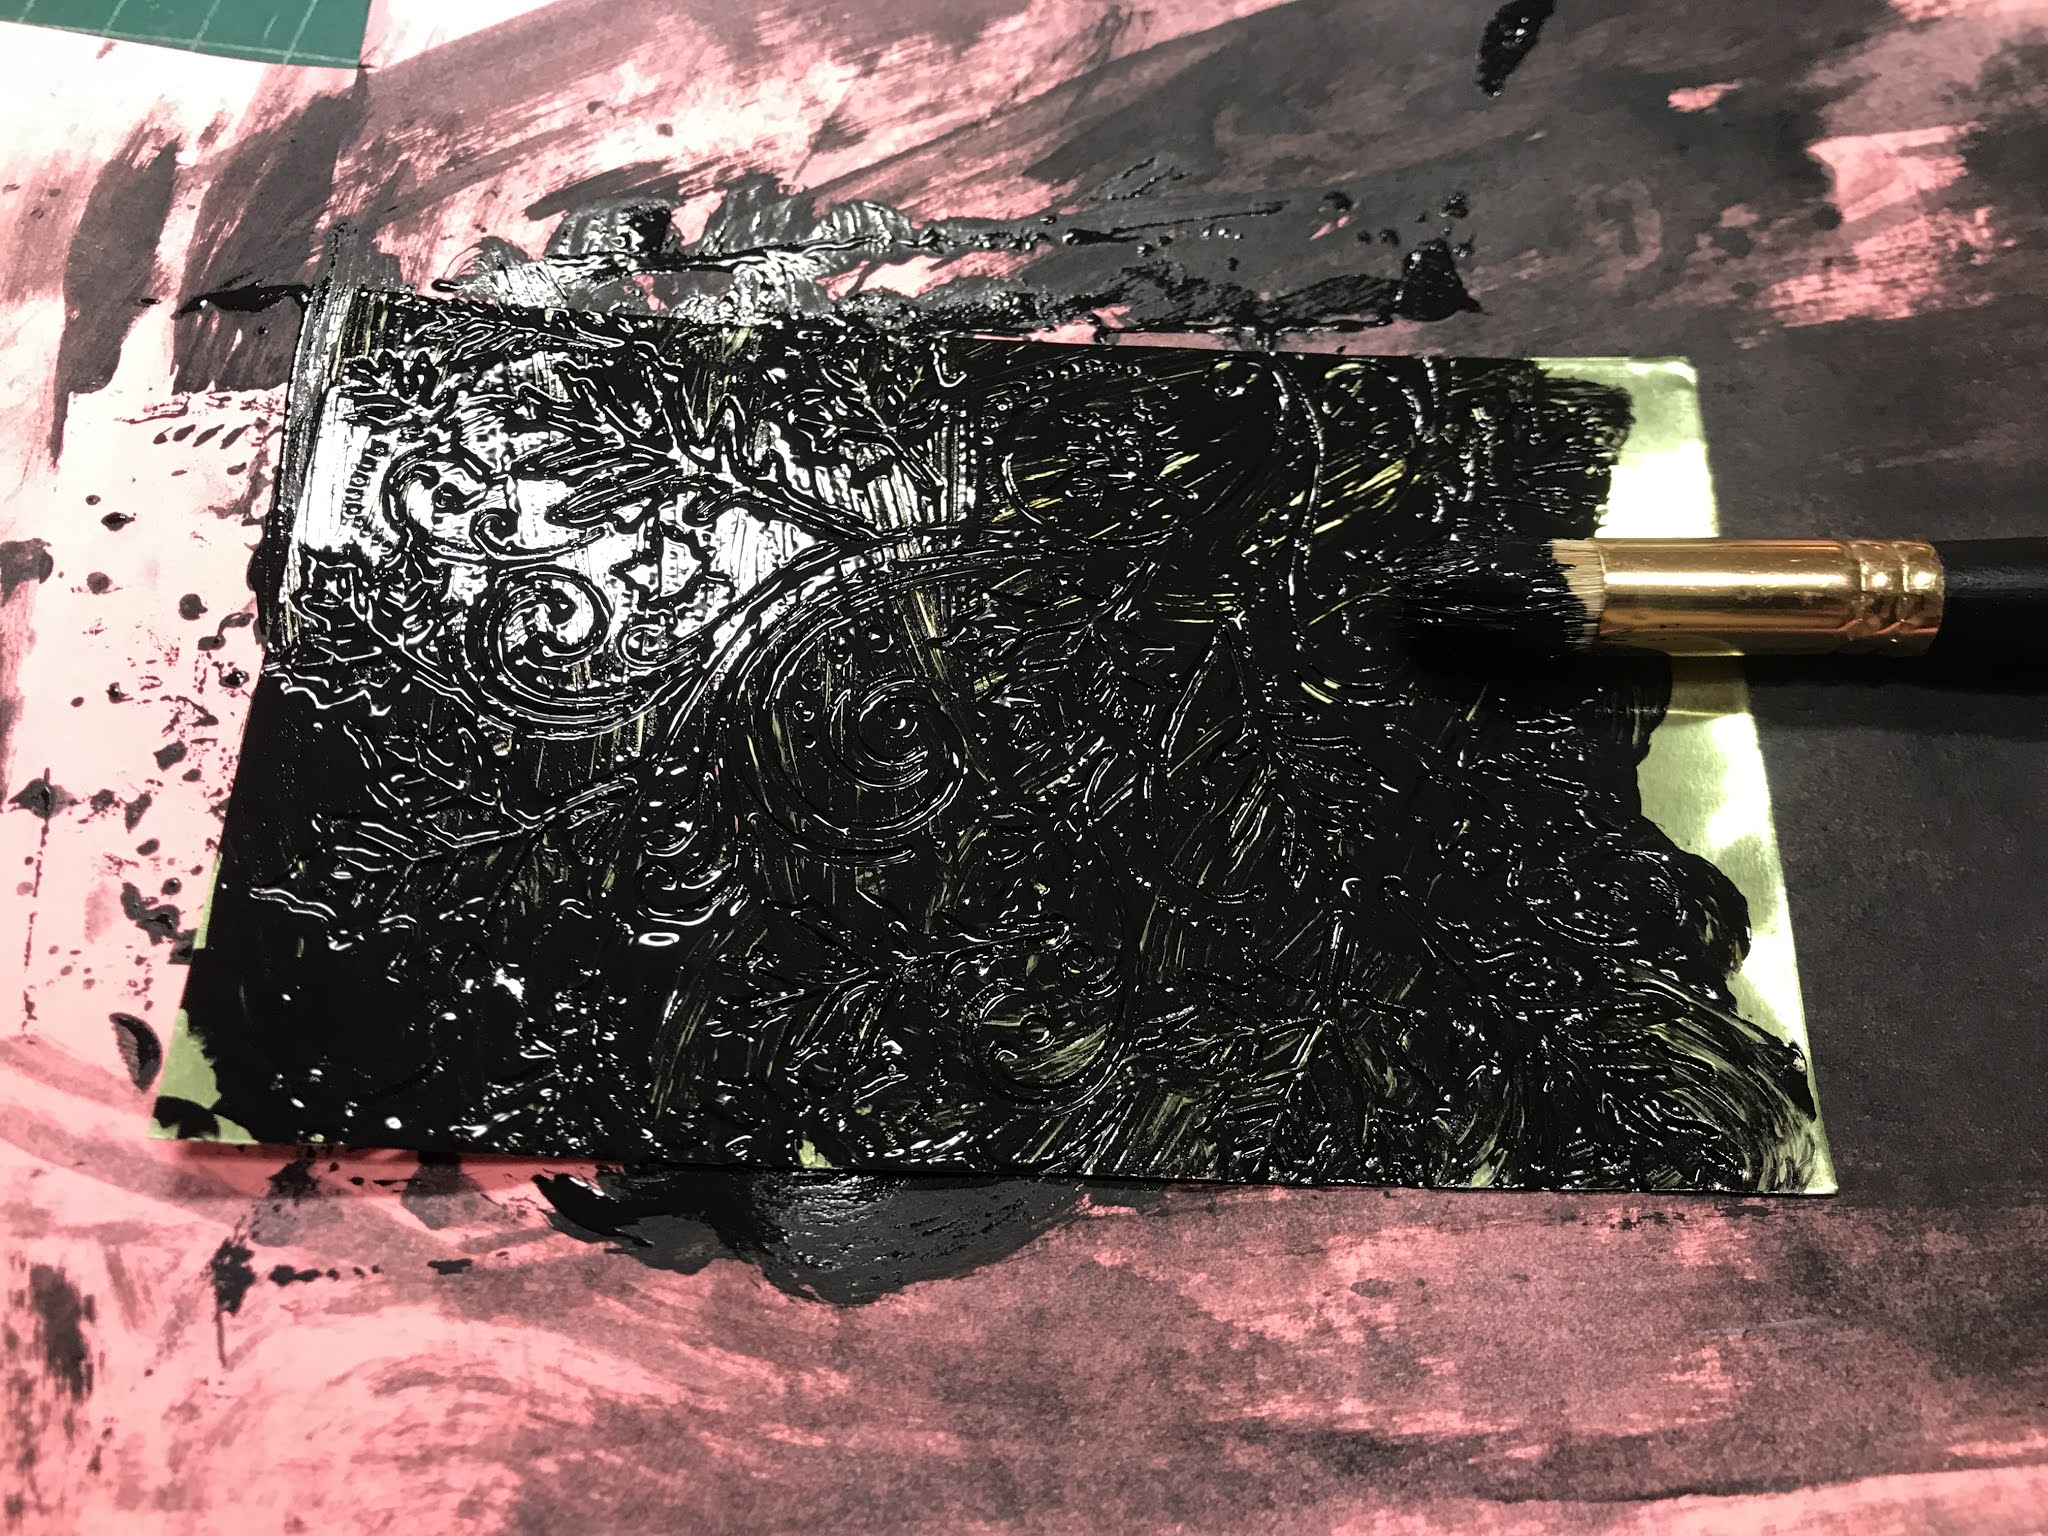
Do NOT let the paint dry. 


A couple trials proved that using a stiff, flat surface to wipe away the paint from the metal plates would work best. I wrapped a sanding block with cheap wet wipes. Paper towels, rags would probably work too as long as they are not pulling paint from the debossed areas. The dampness of the wipe helped remove any drying paint from the surface of the metal. 


I gently wiped away the surface acrylic, leaving the paint in the crevices created by the debossing. I placed used cardstock under the metal sheets so I could wipe the paint off the surface and away from the metal sheet. 


Once enough paint has been removed and maybe a spot or two touched up with additional paint and rewiped, the metal sheets were put in a safe spot (away from the cat) to dry. They dried quickly, so I was able to keep working forward on other parts of this project. A craft heat gun might also help the drying process.

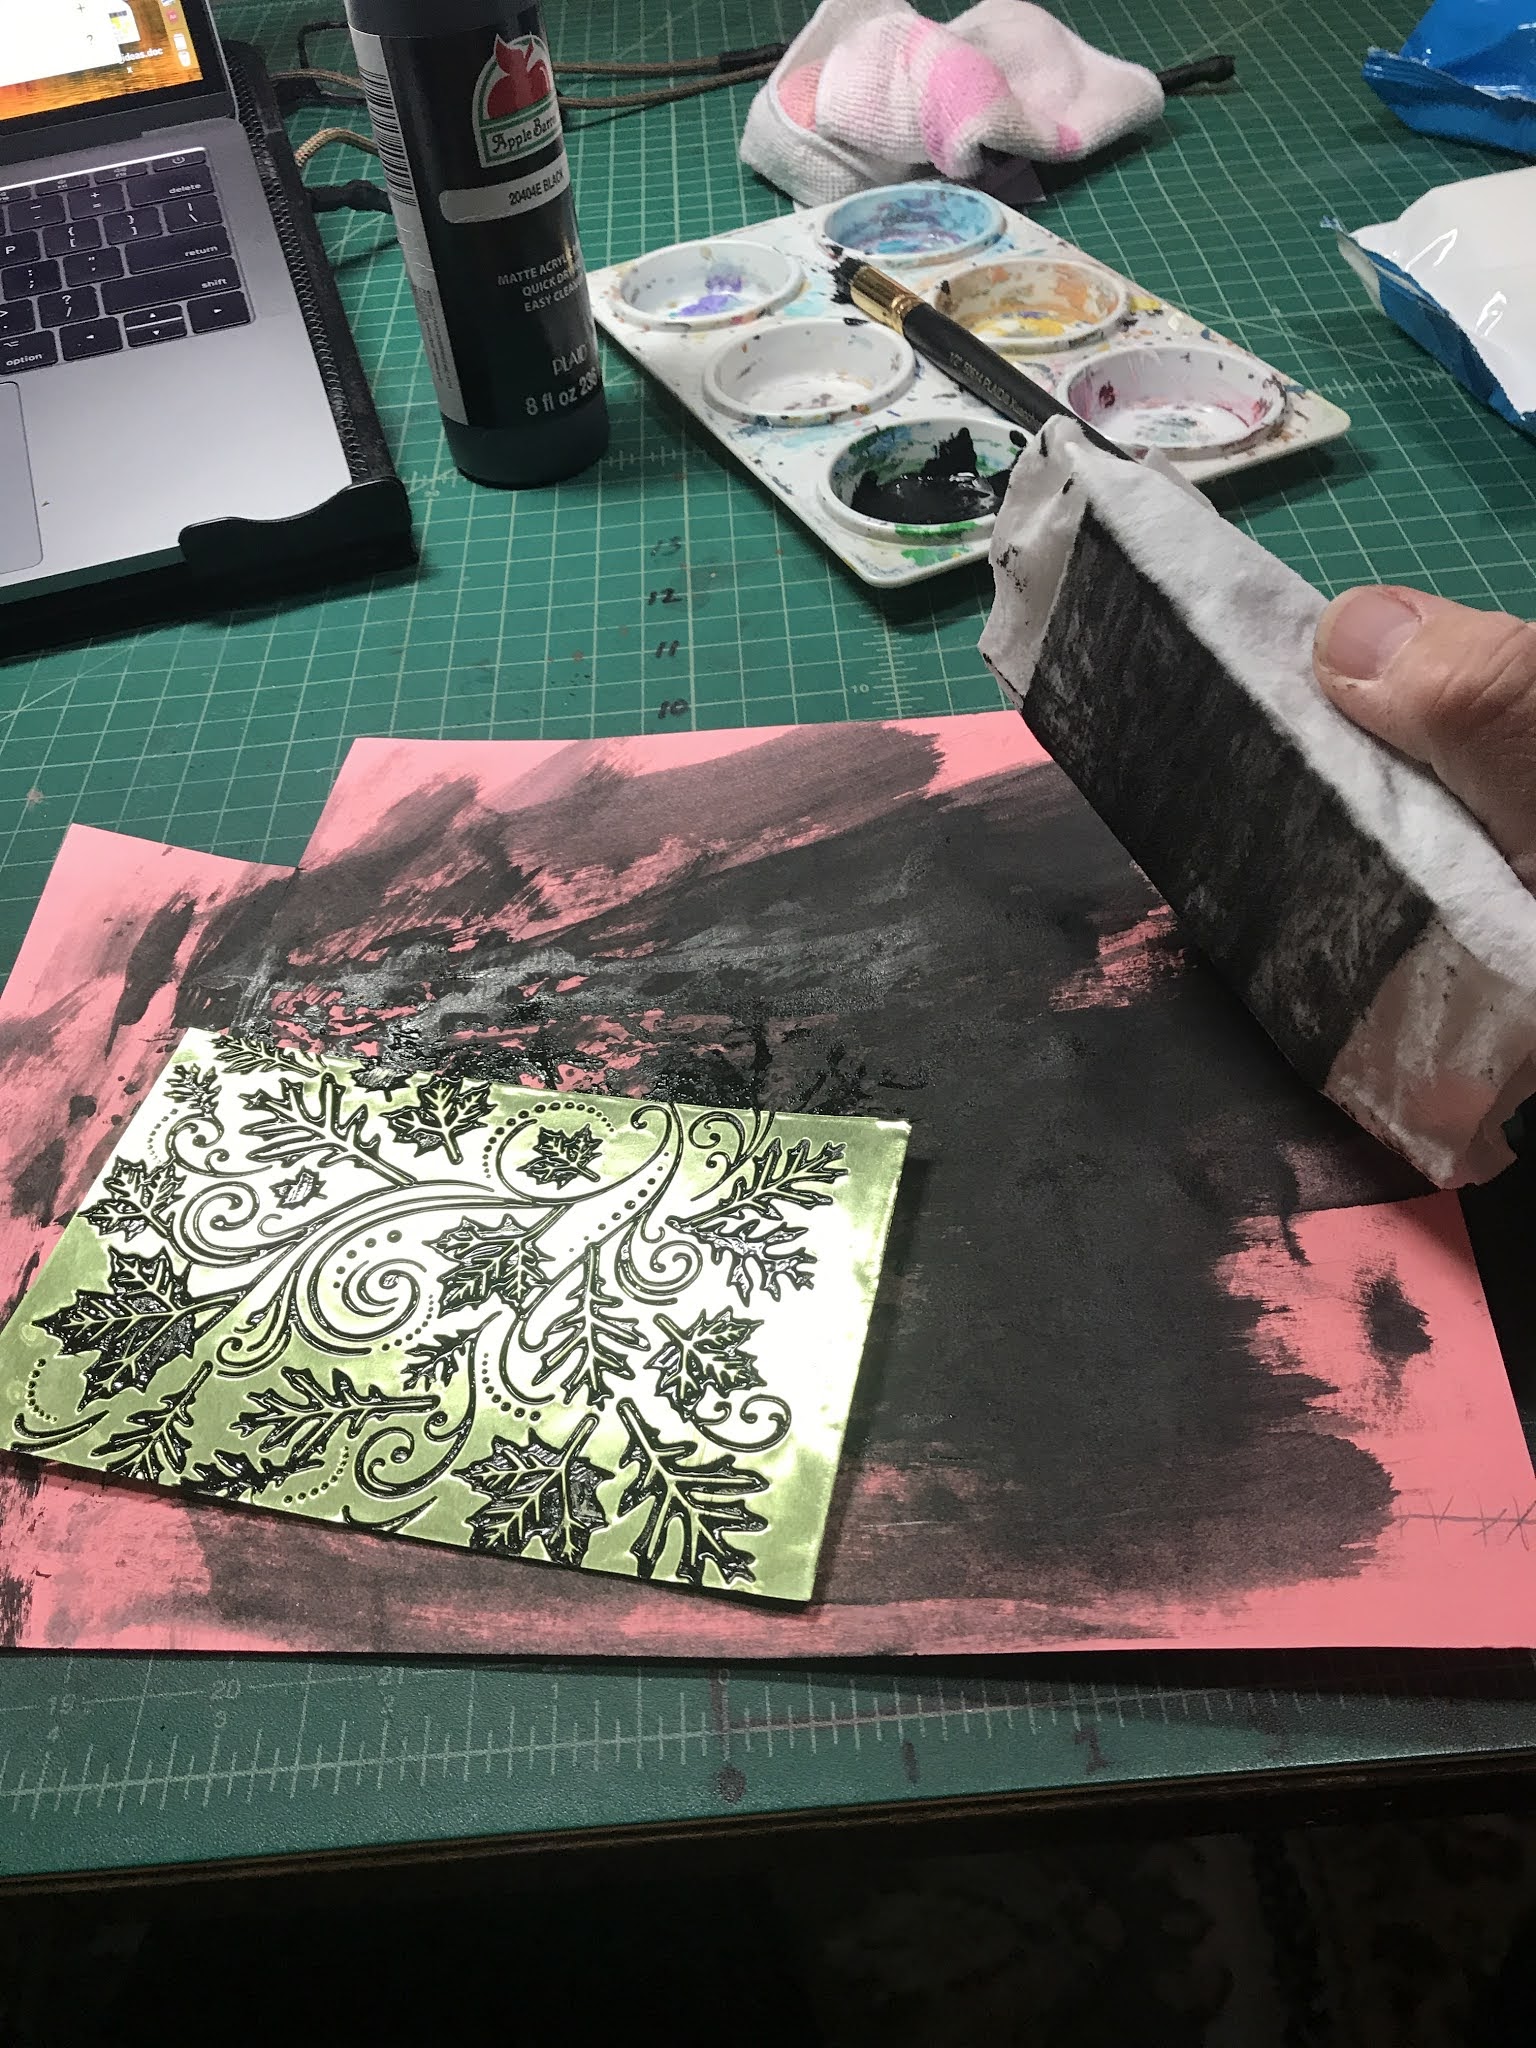
Wha-la! Without the acrylic and with! 


For this LTC set, I carved a flying witch with her black cat.  The moon was created with Tim Holtz Distress Ink and cut with a punch. The witch was embossed on the moon and a black matte used to set off the debossed autumn areas. 


Saturday, November 21, 2020

Mixed Media Inspiration: Nature's Palette

Find inspiration from nature's palette
to inspire a color palette for an LTC. 
(anything within nature or affected by nature)

Easiest way to see just the colors is to squint as you look as the pict. 

Following Photos (4) by Amber Dunayer 
https://www.facebook.com/amber.morris.9275
Powder Valley Nature Center. November 20, 2020


Following Photos by aMAZEing adventure frog, Nov. 2020


Following photos by Brandon Birge (https://www.facebook.com/brandon.birge)


More photos will be coming soon!


Saturday, May 23, 2020

Fusible Webbing (Round 2) & Angelina's Heat Bondable Fibers

For the New Product/ Underused/Product 2020 tracker by Linden Leaf, I selected Fusible Webbing to work with for the four sets of LTCs that I would make through the year. For this second set, I'm using double sided fusible webbing and a product new to me-- Angelina Heat Bondable Fibers.

In addition, I used:
*non-stick teflon heat resistant sheet
*iron
*double-sided fusible webbing
*cardstock


Angelina Fibers are available in an array of colors.There are many online sites that offer the fibers. I have yet to find it at popular craft stores though. I bought my supply through an Etsy dealer.

I wasn't sure yet what subject I wanted to use with this background, but I needed to work with the fibers to see what might be possible. I enjoy creating skies and space so I looked at NASA photos and then selected fiber colors to blend to create a starry sky or galaxy-like background.

I cut a workable size square (usually double or triple an LTC card size) of the fusible webbing (FW) and applied it to the base cardstock (black.)  This will allow the fibers to adhere to the cardstock. The Angelina Fibers will bond to themselves but not to other fibers.

 Next, I fluffed the fibers and pressed them to the FW, keeping in mind where the cardstock would be cut to create each LTC.

The fibers are definitely fluffy but that is about to change.


*PROTECT YOUR WORK SURFACE FROM THE HEAT.

I folded the teflon craft sheet over the prepped fibers and cardstock.


...and applied heat. Directions say about 20 sec. per area. More heat can be applied later where needed.

 *ALLOW THE HEATED SURFACES AND FIBERS TO COOL BEFORE PEELING THE TEFLON BACK.

Once cooled, the teflon releases and now the fibers are fused flat together. More fibers can be added and more heat.


 Trim the excess from the edges and cut to size.


The next challenge: what subject matter to work with to create the LTC?


I enjoy re-using stamps so I searched my collection with hopes of finding a subject. I decided to use a layered stamp of the moon that I carved for a Santa tracker to try out some ideas. Once I placed the cutout of the stamped moon on the background, I knew what I had to add to complete the idea. An astronaut spacewalking.

Not wanting to spend a lot of time carving a stamp, I searched for a simple drawing of an astronaut. A short search led me to a one line or continuous line drawing. I'm a huge fan of one line drawings! I played with sizing and then dug in and carved.

And I did NOT want to fussy cut a bunch of lil astronauts, so I put my Cricut to work by uploading the image to Cricut Design space and prepping it as a cut image.  I would stamp my carved image directly to the cutouts created by the Cricut! Genius I thought. After painstakingly revising the cutout sizes, I decided that fussy cutting didn't seem so bad, but I persevered.

Once each lil cutout was stamped, I colored the reflective helmet shield with Copic markers, buffed all the edges of cardstock (crucial finishing touches) and adhered the astronaut to the card with foam adhesive squares. Titles for me are inspirational and what better title for this card than


String Theory.


I still have much to learn about the possibilities of Angelina Fibers so I look forward to exploring these sights: