
Linden Leaf set-up four LTC trackers to encourage using a new product or an underused product already purchased. Participants chose anything from gelatos and gesso to stencils to oxide and distress inks and more. I chose to work with my embossing machine which is a BIGkick along with the embossing folders and die cuts.
The finished card titled Teal Silhouette. It features partial embossing and masking. My favorite video tutorial for these procedures: https://www.youtube.com/watch?v=IPaUNDtudzk
with thefrugalcrafter Lindsay Weirich
with thefrugalcrafter Lindsay Weirich

 I began by creating a window template to use with the selected embossing folder from a double layer of cereal box thick cardboard. (You can buy these window templates too.) I tested a few other cardstocks/boards and this worked the best. I cut pieces larger than 2.5x3.5 pieces.
 Using a diecut (the metal oval) I cut each layer of the cardboard with the BIGkick then lined up the ovals and glued them together. Once glued, I centered the oval and cut to just larger than 2.5x3.5. Larger would have been better in hindsight as I could have reused my template for greeting cards.

Next, with the pre-cut white cardstock in the folder, I strategically taped the stencil to the outside of the folder. Find a way that works for you as long as the cardstock and template line up. Then I ran it through the machine. I had to test the pressure to find the right amount and adjust the machine plates
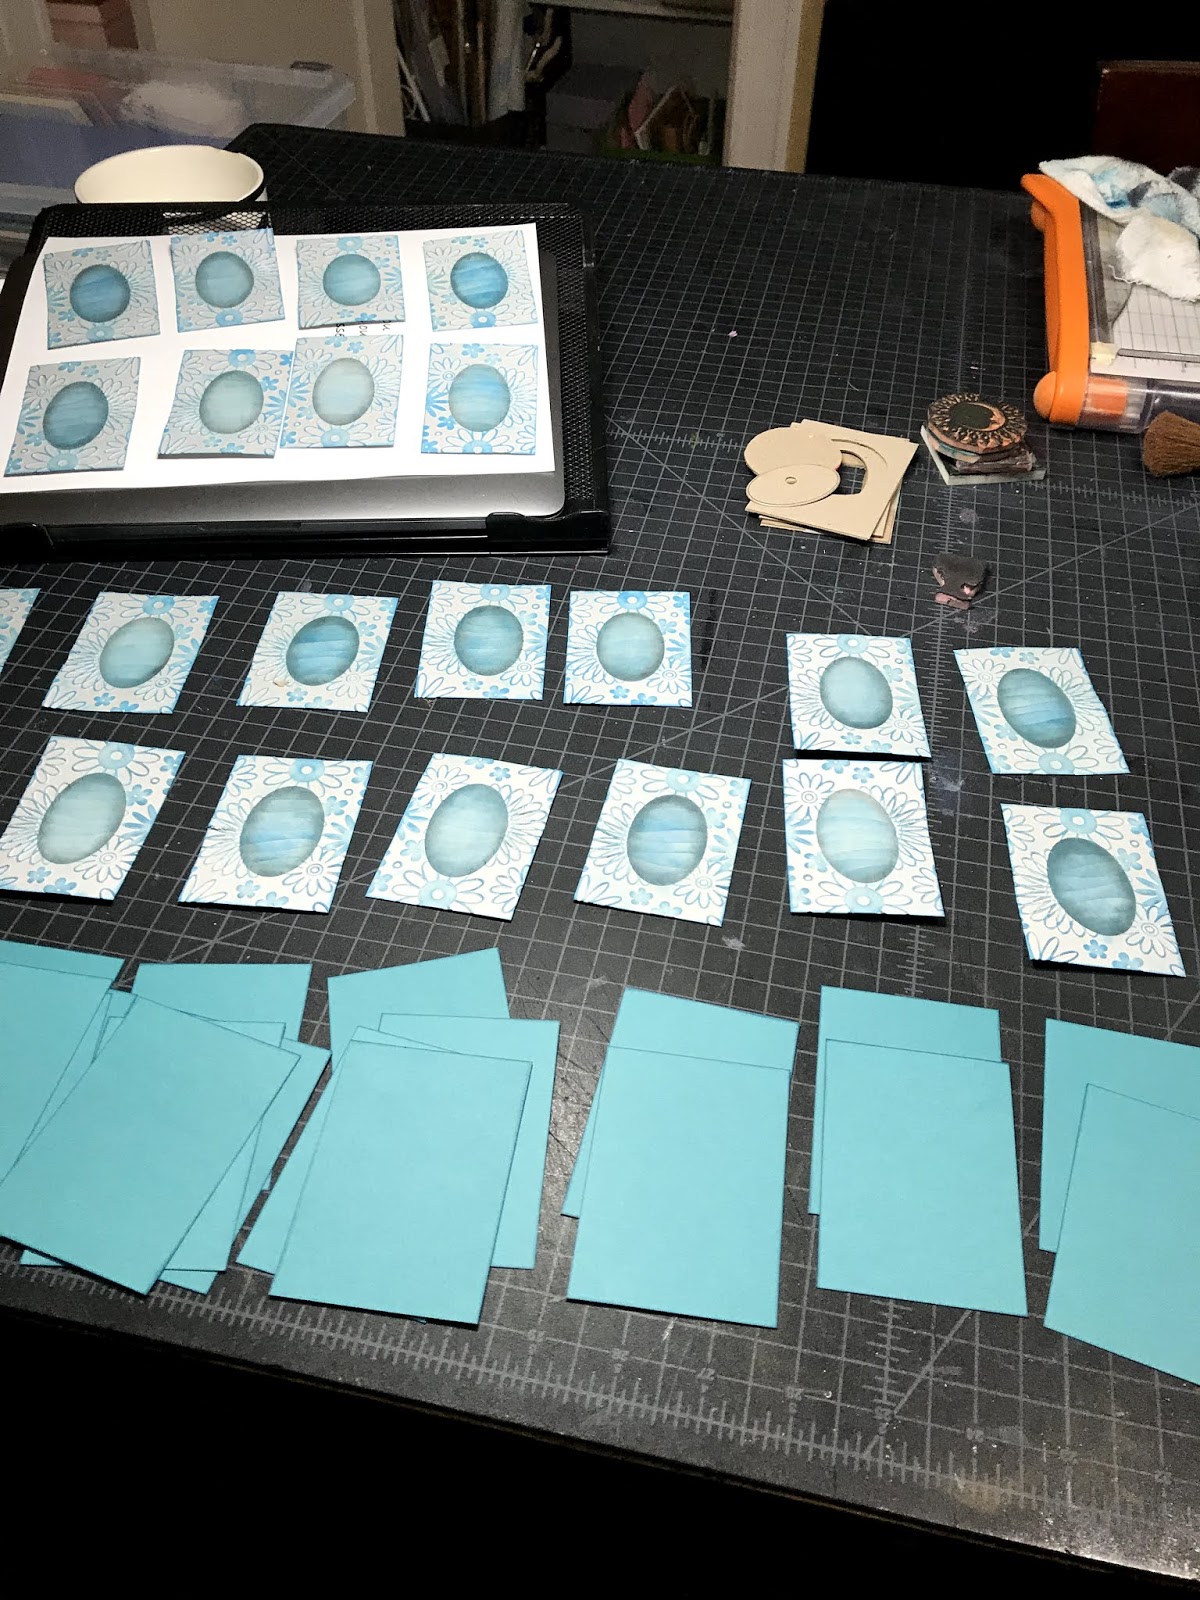
Wha la! an embossed card with a window. Now, repeat about twenty times.
Wha la! an embossed card with a window. Now, repeat about twenty times.

 I'll admit I don't plan all this out as I go. There is a lot of trial and error (and some cursing.) I decided to color the silhouette teal, which got me thinking why didn't I just cut a teal oval from cardstock and place it over an embossed card. All that aside...
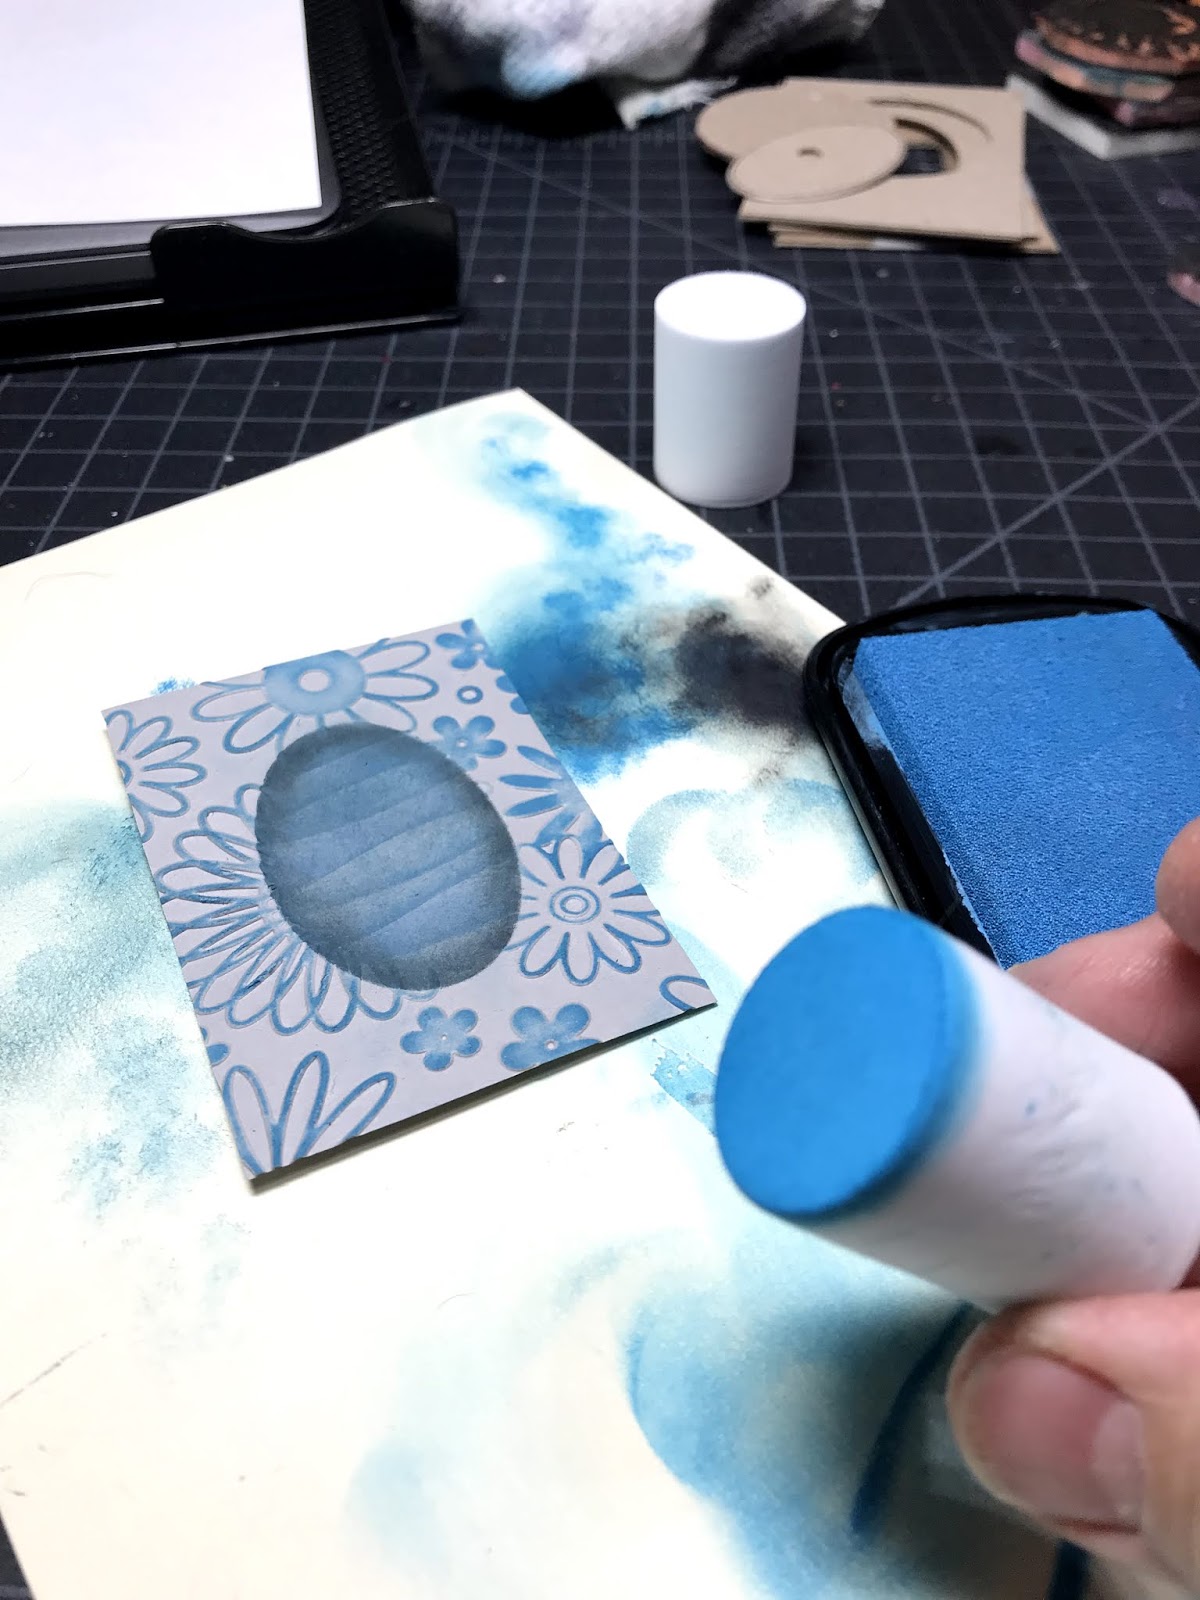
I wanted the inked area to have depth so I used a variety of blues. (I was inspired by the video lady's winter scene.) To protect the embossed area from the ink pad, I created a stencil to use as a mask. Well, I did what the lady in the video told me to do.
With the mask taped (I tried magnets too) in place on my work surface I aligned the embossed card beneath and distressed the oval with a stenciling brush. I used a cut wave pattern, just like the video lady. Brushing upward each time, and moving the wave edge down and sideways for another color.


To emphasize the raised embossed area, I decided to buff the surface with these marshmallow -shaped sponges. I found them at the craft store in Shipshewana-- The Stamp Shop-- when I was there for an LTC retreat. (Shamelessly plugging.) They are dense enough not to smush into the low areas of the embossing.
Always, always buff the edges of cards to frame them. Keeps the observers' eyes trained to the work. I use a black pigment ink pad.

With all the edges buffed, I stamped the woman's silhouette. And finally taped the embossed layer to the matte. One final touch was to outline the teal silhouette with a clear shimmer brush.

Now, I'm exploring more ideas for using my BIGkick machine with its folders and diecuts for the second round of New /Underused products, and LTC swap.