Saturday, May 23, 2020

Fusible Webbing (Round 2) & Angelina's Heat Bondable Fibers

For the New Product/ Underused/Product 2020 tracker by Linden Leaf, I selected Fusible Webbing to work with for the four sets of LTCs that I would make through the year. For this second set, I'm using double sided fusible webbing and a product new to me-- Angelina Heat Bondable Fibers.

In addition, I used:
*non-stick teflon heat resistant sheet
*iron
*double-sided fusible webbing
*cardstock


Angelina Fibers are available in an array of colors.There are many online sites that offer the fibers. I have yet to find it at popular craft stores though. I bought my supply through an Etsy dealer.

I wasn't sure yet what subject I wanted to use with this background, but I needed to work with the fibers to see what might be possible. I enjoy creating skies and space so I looked at NASA photos and then selected fiber colors to blend to create a starry sky or galaxy-like background.

I cut a workable size square (usually double or triple an LTC card size) of the fusible webbing (FW) and applied it to the base cardstock (black.)  This will allow the fibers to adhere to the cardstock. The Angelina Fibers will bond to themselves but not to other fibers.

 Next, I fluffed the fibers and pressed them to the FW, keeping in mind where the cardstock would be cut to create each LTC.

The fibers are definitely fluffy but that is about to change.


*PROTECT YOUR WORK SURFACE FROM THE HEAT.

I folded the teflon craft sheet over the prepped fibers and cardstock.


...and applied heat. Directions say about 20 sec. per area. More heat can be applied later where needed.

 *ALLOW THE HEATED SURFACES AND FIBERS TO COOL BEFORE PEELING THE TEFLON BACK.

Once cooled, the teflon releases and now the fibers are fused flat together. More fibers can be added and more heat.


 Trim the excess from the edges and cut to size.


The next challenge: what subject matter to work with to create the LTC?


I enjoy re-using stamps so I searched my collection with hopes of finding a subject. I decided to use a layered stamp of the moon that I carved for a Santa tracker to try out some ideas. Once I placed the cutout of the stamped moon on the background, I knew what I had to add to complete the idea. An astronaut spacewalking.

Not wanting to spend a lot of time carving a stamp, I searched for a simple drawing of an astronaut. A short search led me to a one line or continuous line drawing. I'm a huge fan of one line drawings! I played with sizing and then dug in and carved.

And I did NOT want to fussy cut a bunch of lil astronauts, so I put my Cricut to work by uploading the image to Cricut Design space and prepping it as a cut image.  I would stamp my carved image directly to the cutouts created by the Cricut! Genius I thought. After painstakingly revising the cutout sizes, I decided that fussy cutting didn't seem so bad, but I persevered.

Once each lil cutout was stamped, I colored the reflective helmet shield with Copic markers, buffed all the edges of cardstock (crucial finishing touches) and adhered the astronaut to the card with foam adhesive squares. Titles for me are inspirational and what better title for this card than


String Theory.


I still have much to learn about the possibilities of Angelina Fibers so I look forward to exploring these sights: 


Friday, May 8, 2020

Easy Peasy Sleeves


If  you're a fan of trading card sleeves for your LTCs, you may have run into problems inserting thicker LTCs into the sleeves. 


Cards with layers, do-dads, embellishments, folds and more are a challenge to slide into those thin sleeves. The sleeves get caught on the raised areas, pushing and pulling on the embellishments.


Here is an easy peasy trick to eliminate that frustration. You'll need: 


  • an LTC set that will be challenging to insert into sleeves
  • plastic card sleeves
  • LTC sized cardstock to use as a cover card
  • post-it


Adhere the post-it to the card as shown, or another option is to use a longer piece of cardstock.


Simply place the cover card over your embellished LTC and slide both


Slide both cards into the sleeve at the same time without the frustration of the embellishments interfering. Pull blank/cover card out.
Wha-la! Easy Peasy Sleeves.


Sunday, March 8, 2020

Heat Resistant Acetate

For the I Got a Jar of Dirt tracker, I wanted to make a translucent jar and have it filled with frogs.  I want the jar to seem translucent and dimensional with the frogs seemingly on the inside. I decided to emboss the jar to create ridges that would hold the Dimensional Magic (gloss) within.
In order to have a clear jar, I needed to work with clear plastic and this would require heat resistant acetate. 

Typically working with plastic, a crafter might use a solvent/alcohol ink such as StazOn. Since I would be heat embossing the ink, I could use pigment ink to stamp without it smudging off. 
 Embossing supplies:
  * powder
  * paint brush for removing unwanted powder
  *chalk powder bag to prep the surface.

I keep a plastic tub of embossing powder. Holding a card with tweezers, I dip cards into the powder and shake or tap off.  Now and then, I have to pull some cat hairs out of the powder. 


One of my favorite tools is the reverse tweezers-- a must-have for crafting.  I think it was GreenMountainHiker who turned me on to these nifty crafty gadgets.


Once stamped and dipped in the embossing powder, it’s easy to see why the anti-static bag and paint brushes help.


Not wanting to clean up that mess of unwanted powders on the stamped acetate,  I cleaned both sides of the acetate with alcohol to remove any oils. Then I pounced the anti-static bag on both sides of the acetate.  

*Make your own anti-static bag with cornstarch or baby powder, or purchase at craft store.


 Big difference! The cleaned, anti-static powdered acetate resists unwanted embossing powder. The extra marks within the jar can be swept away with a paint brush or q-tip.


During the heat setting, I use a wood block as a protective surface so I can rest the card on it and protect my work surface (self-healing cutting board) from heat damage. 


Applying the heat with a craft heat gun. The acetate will resist the heat BUT too much will definitely warp, even melt it. 


Wha-la! The embossed jar. Excess anti-static powder wipes off with a cloth.  Some minor warping on this one due to too much heat. 


Next, using Mod Podge Dimensional Magic (MPDM,) I applied enough to cover the image and used a small tip brush to distribute the gloss evenly and remove/pop any air bubbles. 

FYI: do NOT shake MPDM as it adds air bubbles to the liquid. 


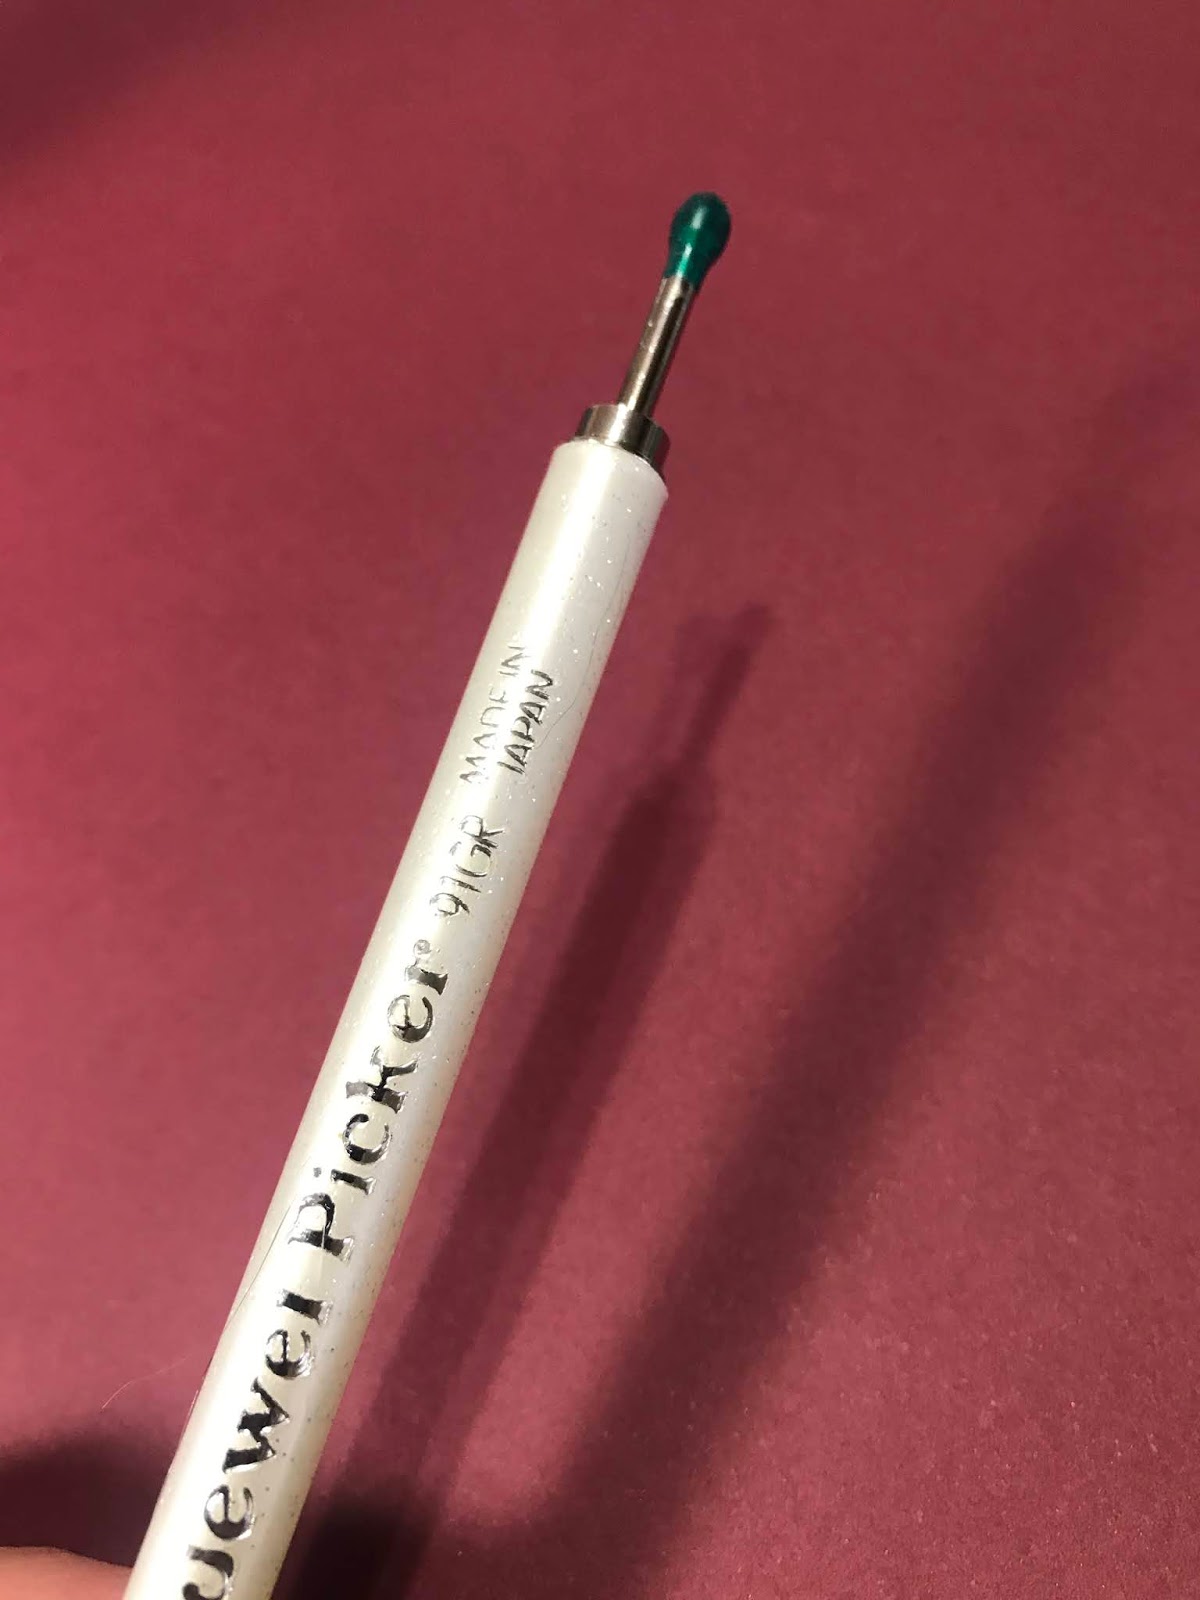
With the surface still wet, I layered hole-punched gum balls. A few of the acetate pieces were slightly warped so I taped them down so the MPDM would settle evenly within the embossed borders. In this pict, I'm using another favorite tool-- the Marvy Jewel Picker. Easily picks up tiny items. 


Close up of the Jewel Picker. Sticky (green) tip. Anyone who does Diamond Art will something like this. Some use a resin-like  substance on the tip to create the adhesion. I like this because it is oil-free and can be cleaned. 


 Ready for the next layer of MPDM.


 I carefully added more MPDM to fill in and cover the gum balls. 


 I  decided to work this layer right up to and pass the embossed edge so the finished jar might look smoother or more rounded on the edges. I would simply trim the excess. 


Find a safe place away from the cat’s mischief to let dry. MPDM will dry clear. I added more MPDM where needed to create a smooth surface of glass. Lastly, I cut each out while watching The Joker. Great movie, by the way!


A final jar, which probably could use another layer of MPDM. 


This is my quisp for the tracker. Jars of frogs' toes. Perfect for a witch’s kitchen. Actual size is about 1” x 1/2”.  Frogs were punched out. 

What would I have done differently?

  • I think I would have liked bubbles in the gloss. Might have given it more of a liquid look.
  • Maybe a smaller tag but I had that punch so that is what I used. I laugh when people say I'm a perfectionist. Ha! 
  • Maybe added a touch of color--yellow or greenish-- to the liquid to make it look like it's been sitting for awhile. In the example above, the MPDM seems to have pulled some color from the card stock used for the frogs.  
  • I wonder what it would have looked like if I would have layered a few more frogs. Really make them look squashed in there, but I also wanted to maintain the frogs' outlines.  I thought about applying a couple frogs followed by gloss, a couple more and more gloss. Didn't want to mess with the timing of all that. 

Wednesday, February 12, 2020

Frog's Winter Wonderland Letterboxing Event


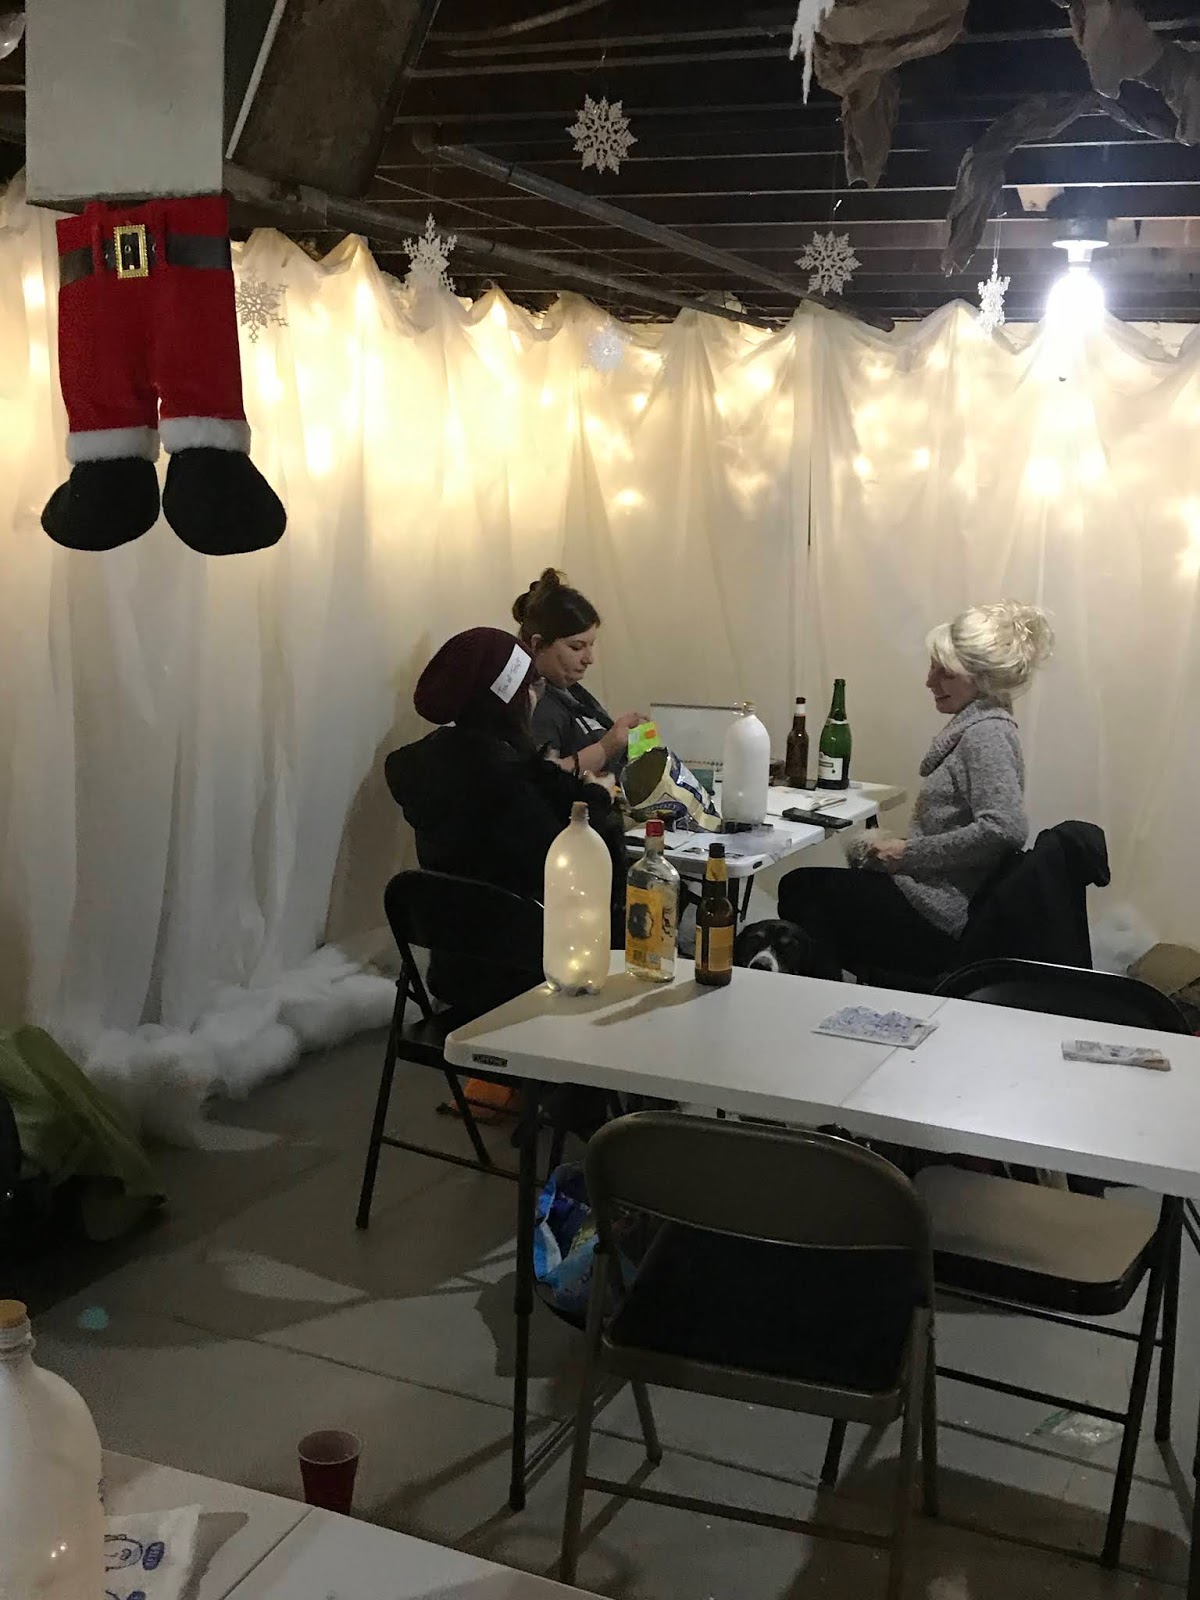
This year I decided to expand the participant numbers but that also meant I needed more space in my smallish home. The kids -- Christmas Puppy and BoxReaper-- decided to host the main area in the basement this year. That meant serious decluttering, organizing and cleaning. Once the area was ready, the kids and I made a winter tree from recycled bulletin board paper from my sister Kathy's school. Poo Slinger's again provided lights, his time white and the Dollar Tree provided the white plastic sheets. My mom and I collected 2-liter bottles to paint and decorate with holiday images. I found fairy lights with fake corks (housing for batteries) to use. Also from the holiday supplies, I hung snowflakes to complete the festive Winter Wonderland where all of Woodshed's Santa stamps would be available. My annual events are becoming a family recycling/repurposing project. (A rare appearance of BoxReaper hiding in his jacket in the corner.)

*Click on images to zoom in. 


One of my favorite projects was completed with the help of letterboxing friends at a small craft gathering. Leah, aka Christmas Puppy, and I focused our weekend on painting traced images of the Misfit Toys. It didn't take long for other crafters to join in the fun and we were able to get all of the cutouts ready. A big thank you to Sailfish, ChillE, Cookiecutter, Gypsy Ladybug and Jabber for their help with painting.


Again needing every bit of space, we decided to put the Misfits on display in my backyard. On the back of each was a clue (riddle) written in invisible ink. Black lights, aka special equipment, was provided to anyone who was willing to brave the cold weather. Fortunately though, the winter storm that could have made travel to and through St. Louis impossible, came and went in time for the event. Lights led the way from my back gate on the alley. My new neighbors have about five parking spots behind their house and allowed us to use them. By using the back and side gates, boxers were guided  into the house through the basement Winter Wonderland. 


One of the first projects I worked on for the event was making my own collection of locked boxes. After collecting wooden boxes wherever I could find them, including the alley dumpster, I selected images, painted with coordinating colors, and mod podged the boxes. Then I secured hardware to each, and looked for the best prices to purchase a set of combination locks. During the event each box secured a carved Santa carved by The Woodshed for those that could break the clue.


The kids and I revisited our plans for my house frequently to assign or reassign collections or series of stamps. During early planning, we stamped all the stamps on cardstock and cut apart to sort them into themed areas to help us determine what each room should become. We finally settled on: Winter Wonderland, Mrs. Claus' Kitchen, Island of Misfits, Ski Slopes (stairs,) Santa's Toy Shop, Christmas Home, Journey to Bethlehem, and a tub of snow.

With Gypsy Fiddler's collection of gingerbread people, I created a clue inspired by cooking. A fun trip with sisters and my mom to Kimmswick, MO, yielded an adorable set of canisters which were perfect for housing a couple ginger folk.


A toy shop is only complete if it has tools. I found this awesome set of tools on Amazon for an incredibly reasonable price. These became my toyshop props for implementing GREEK STEGANOGRAPHY or CHIPS (clues hidden in plain sight.) 


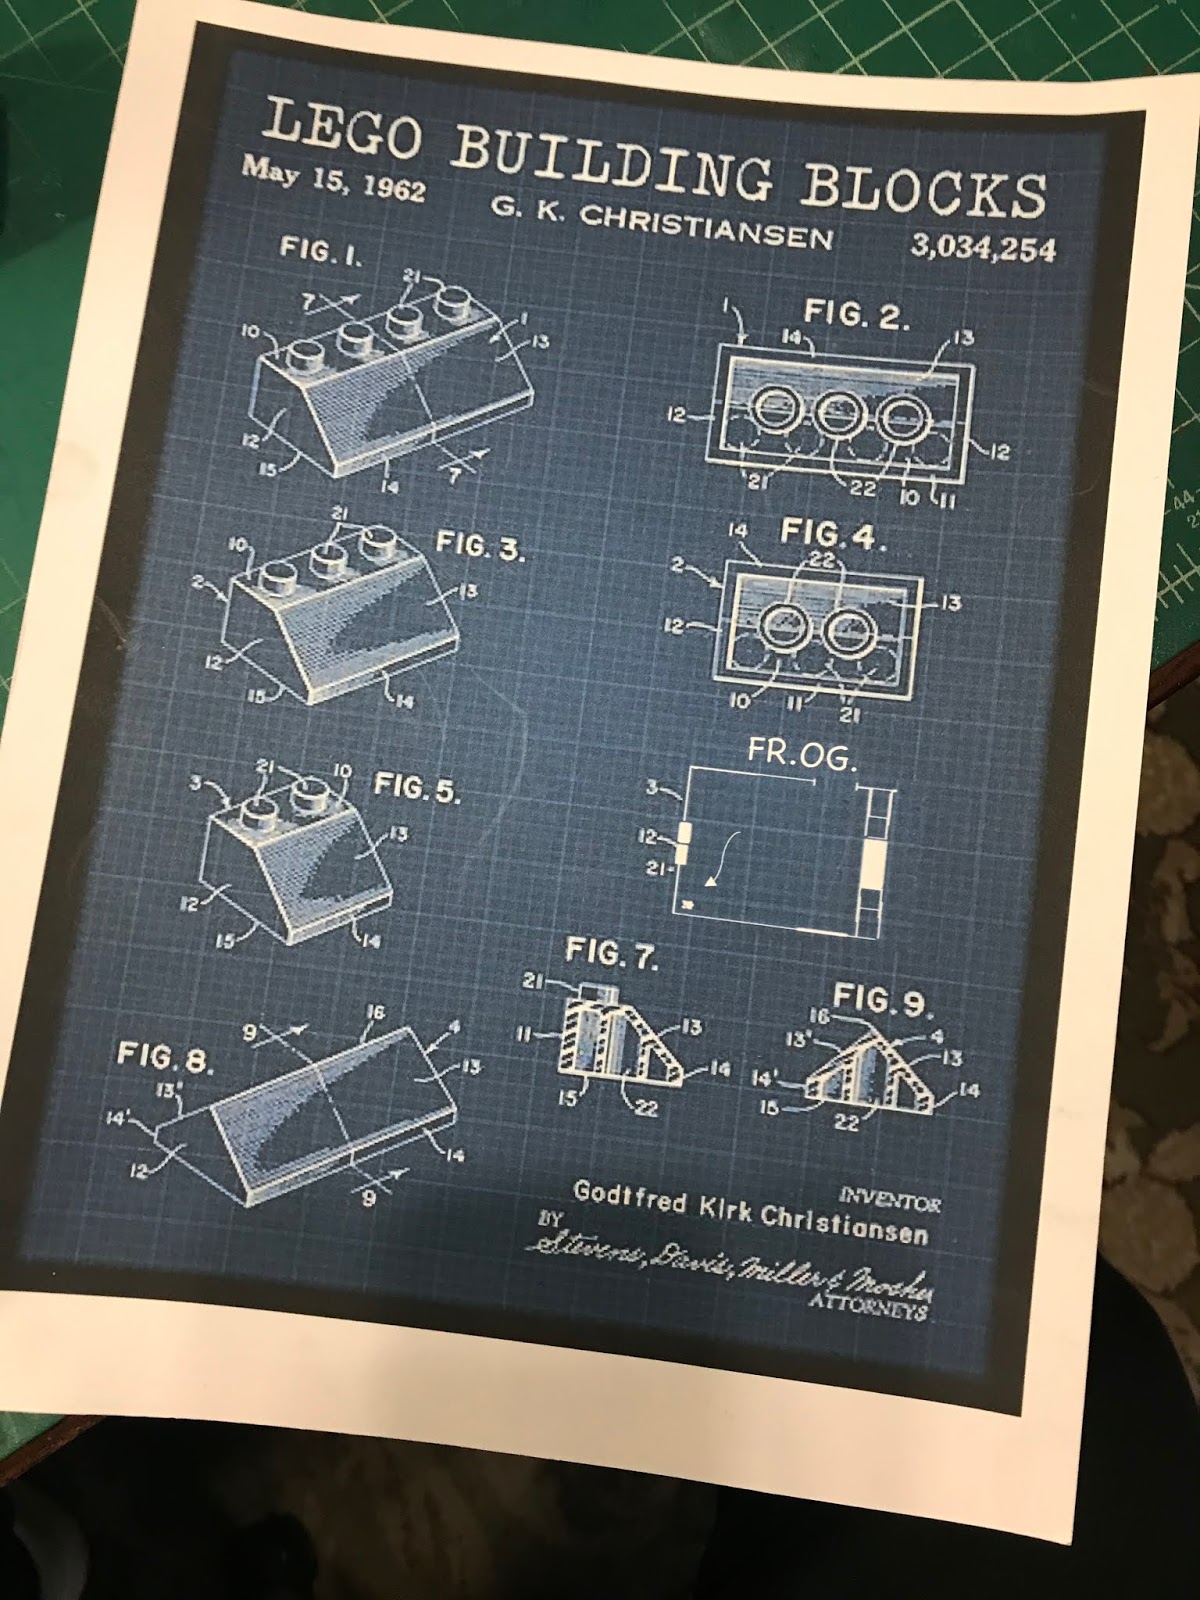
Clever blueprint if I can say so myself.


 A more traditional clue, but still tricky because participants had to have both pieces to solve the clue, and I certainly didn't put the two near one another in the toy shop. In fact, all the clues in the toy shop were hidden in plain sight, well, cleverly disguised and hidden among toyshop crafting supplies.


This saw blade clue was especially fun since I had recently received a Cricut as a gift for helping my nephew.


Not just paint cans, read the labels closely! (clue on back of label.)


Another cardboard cutout. For the Cousin Eddie stamp, all you have to do is reach into the bucket of sewage  (chocolate pudding) to find the stamp. Knowing participants would want to wash their hands after this one, I finally set-up a simple utility sink with drain. Bought the sink two years ago!


This is only one of the clues that I have a pict from the Christmas Home room.  A cleverly crafted version of Deck the Halls, written by Gypsy Ladybug, Christmas Puppy and myself, provided clues to stamps' locations. One stamp, once found, was locked in a birdcage, and the Santa clock, which hung on the wall discretely, had the combination. 


Of course, my tub has become an annual tradition. What will Frog do with her tub this year? With the help of Poo Slingers, the tub was filled with shredded paper. I was happy with three bags, but BoxReaper added another two bags to make sure the tub was full. Five small stamps provided by Rebiccola were tossed deep within the shreds, and of course I made the pouches of white felt! I'm still finding shreds of paper in my house.


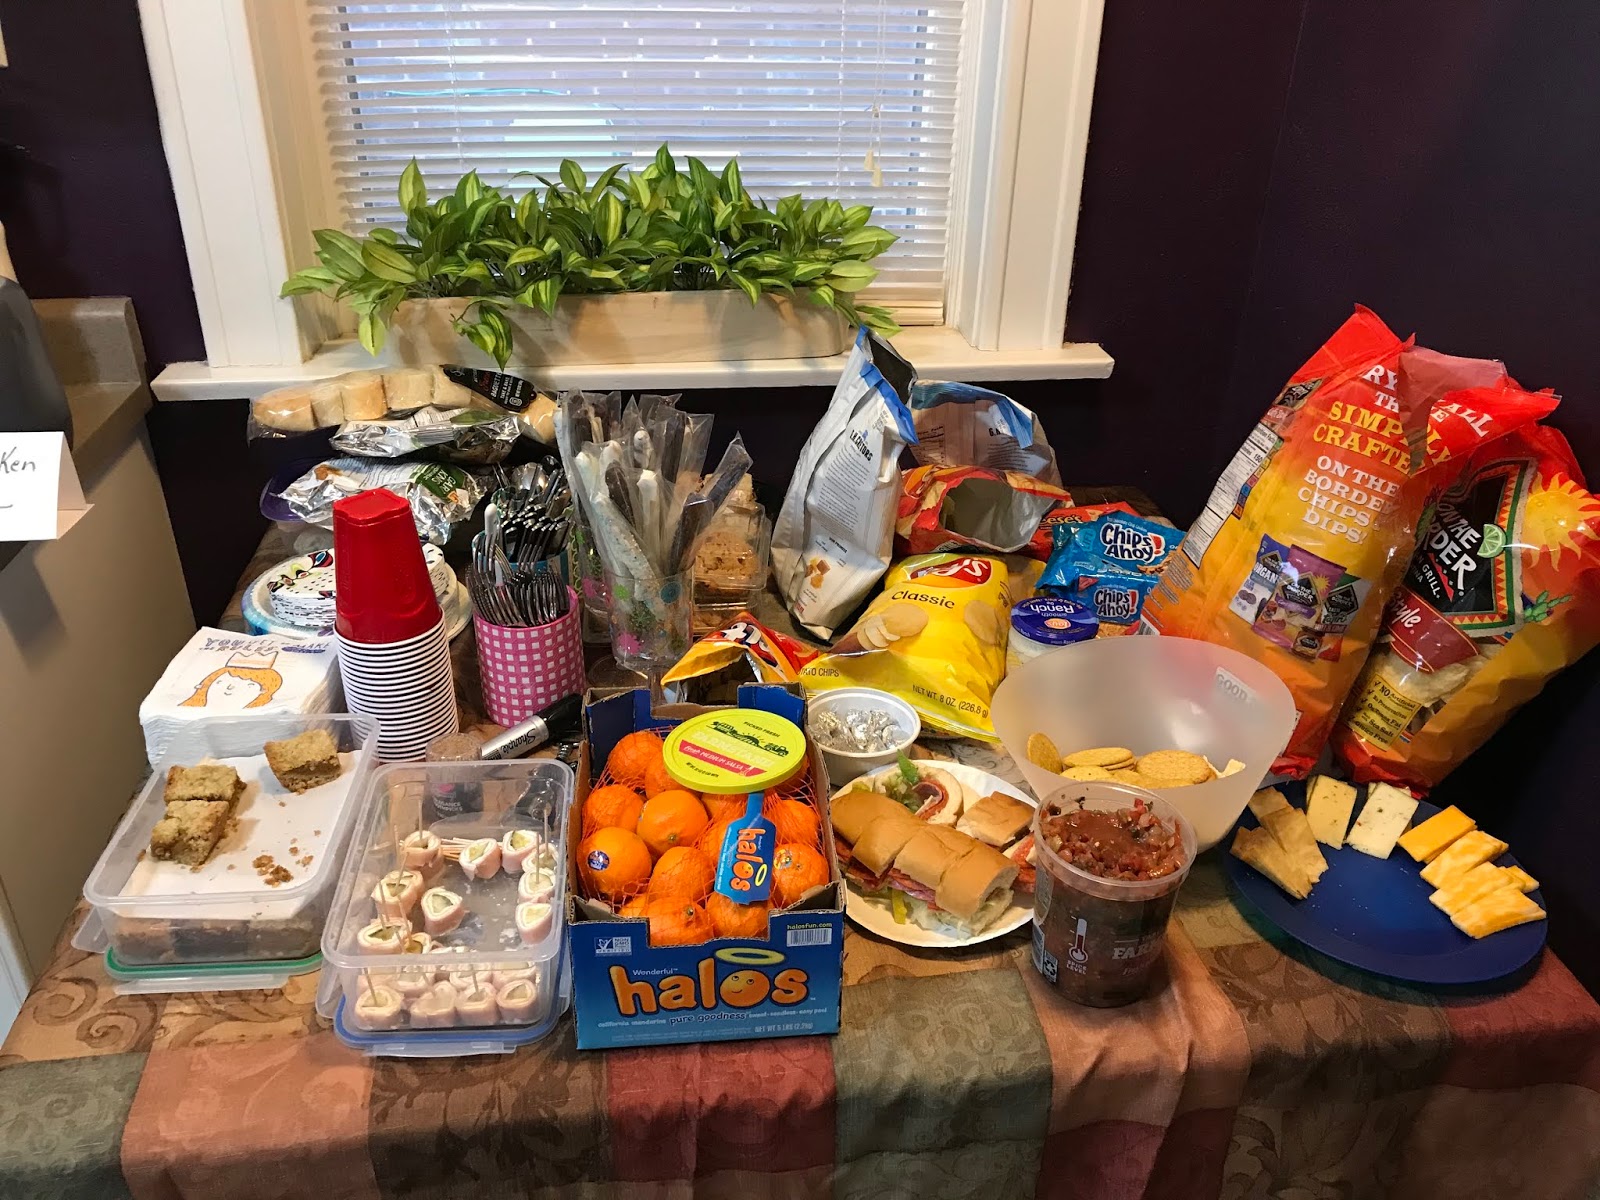
I always appreciate all the yummy food and boxes that participants bring for everyone to enjoy.


There is always some boxes that tickle me more than others. This is one of my favorites. Santa stuck in the chimney. Found these adorable Santa trousers, which was a tote bag, at a craft store and used a magnet to hold them in the laundry shoot.


Well, I need to work on taking more picts during events. If you have any you would be willing to share send them to me and I'll add them to the blog. Hope you enjoyed a peak into Frog's Winter Wonderland.